Home

Showing posts with label Vintage Fabric. Show all posts

Thursday, 25 February 2016

Noosa Shift Dress by Sew To Grow

Hello!

If you haven't checked out Sew To Grow patterns you really must!  They are great for beginner seamstresses and an enjoyable quick make for those with some experience. 

Today I'm wearing the Noosa Shift Dress with a slight modification.  The pattern comes with flutter sleeves or sleeveless variations.  I made a slight cap sleeve by extending the shoulder about 3cms and I love it!  I also added 5cm just above the waist line (cause I'm tall!).  Oh, and the best part of this pattern is that it comes with the most perfect sized pockets (which, as you know, I usually add in anyway!). 

The fabric I used was a home made table cloth I found at a second hand shop - it's a lovely soft cotton and I couldn't resist the pretty floral. 


This pattern was gifted to me by Sew To Grow but all opinions are my own.

Monday, 4 January 2016

The 50 cent dress!

Happy New Year!


I wanted to make a new dress for New Years Eve.  Why, I don't know.  We didn't go anywhere and were asleep long before midnight! However, it was a good excuse for a new dress!

I had picked up a bunch of remnants from a local op shop for only 50 cents each - bargain!  I planned to use the fabric as muslins (when you roughly make a pattern from cheap fabric first to test fit etc).  This pretty navy and green (my favourite colour combo!) fabric really appealed to me.  It also has a bit of stretch, so was perfect for a fitted dress.

I am so happy with the result!

This pattern by Simple Sew came free with the Love Sewing magazine - the pattern was the reason I bought the magazine!  I loved everything about it!

I only made 2 small changes:
  • I added 2cm length to the bodice, everything else was just fine. 
  • The pattern had an open slit in the back; I made it a vented slit so the backs of my thighs aren't exposed.

It's rare that I get such a good fit without too many alterations!  The skirt is a little looser, which I love as it gives me more of an hourglass shape than I really have! 


This really is a 50 cent dress (the zipper was from Nona's stash!) so naturally I pair it with the most expensive shoes I own! Why not?!


Monday, 30 November 2015

I Made It Monday: MuMu to Marvelous!

I was gifted a pile of fabric recently and amongst it were some half made dresses.

This little (or not so little!) number was begging for a refashion.  It is such pretty fabric!

The Seamstress who gifted this fabric was obviously very talented; nothing but perfect French seams and pleating.  I wanted to honour her skill, so used French seams to finish the dress.

First up, those giant flutter sleeves had to go.  Does anyone else think of the sails of the Sydney Opera House when you look at them?  No, just me?!

I cut the dress off at the waist, took in the bodice and added a side zip.  I then simply gathered the skirt (as you can see, there was lots of fabric to work with!) and reattached it.

Ta da!  From MuMu to what is fast becoming one of my favourite dresses.


It's MuMu - tastic!

 
Modelled by Myrtle; apologies for no photos of me wearing it... yet...


A late addition - me wearing the dress!

Monday, 2 November 2015

I Made It Monday: Old + Older = New

Old + Older = New.  Makes sense right?!

A little while ago I given some fabric and patterns which had belonged to my Great Grandmother Mabel, who I never had the pleasure of meeting.  Mabel made all of her own clothes and undergarments, and was a concert pianist! 

From the stash, circa 50's or 60's, I made this midi skirt.  There were also a lot of off cuts, rolled together and secured with the selvedge of the fabric.  I love the mindset of nothing wasted!  This fabric was in that stash; it's beautiful!

There was not enough to make a whole top so I took a white linen shirt which I bought on my first trip to New York City in 1995 (wow, can't believe that was 20 years ago!).  I rarely wore the top, but saved it all these years because of the memories attached to it.

Using my trusty New Look pattern 6194 I made myself a top.  I love the classic style of this top.  I didn't want to waste this special fabric on a "trendy" top that I wouldn't wear in a year or two.  I made a couple of slight modifications to the pattern: I added length (standard for me!) and as I used an existing shirt for the back I didn't need to add the darts from the pattern on the back.

Ta da!  A beautiful new top which I treasure.  I hope Mabel would be proud of how I used her fabric scraps.

Pants: Made By Me (self drafted)
Top: Made By Me using New Look Pattern 6194

I used the pretty trim around the neck and to add sleeves.

Miss 3 in the background, who will be Miss 4 tomorrow!

Photos c/o of wonderful Husband


50 or 60 year old fabric + 20 year old fabric = a new top full of special meaning and wonderful memories! 
I really love it! 

Saturday, 4 July 2015

Fabulous Separates

In my post on Monday (check it out here if you missed it) I talked about how I sometimes make a top and skirt out of the same fabric to maximize my wardrobe.  When I wear them together they look like a dress, but I have the benefit of wearing them as separates. 

This genuine 1970's polyester fabric which was lovingly gifted to me was so fabulous I wanted to make the most of it!  I usually dislike synthetic fabric, but who can pass up genuine 1970's polyester?!  Fabulous!

Here is the matching top and skirt:


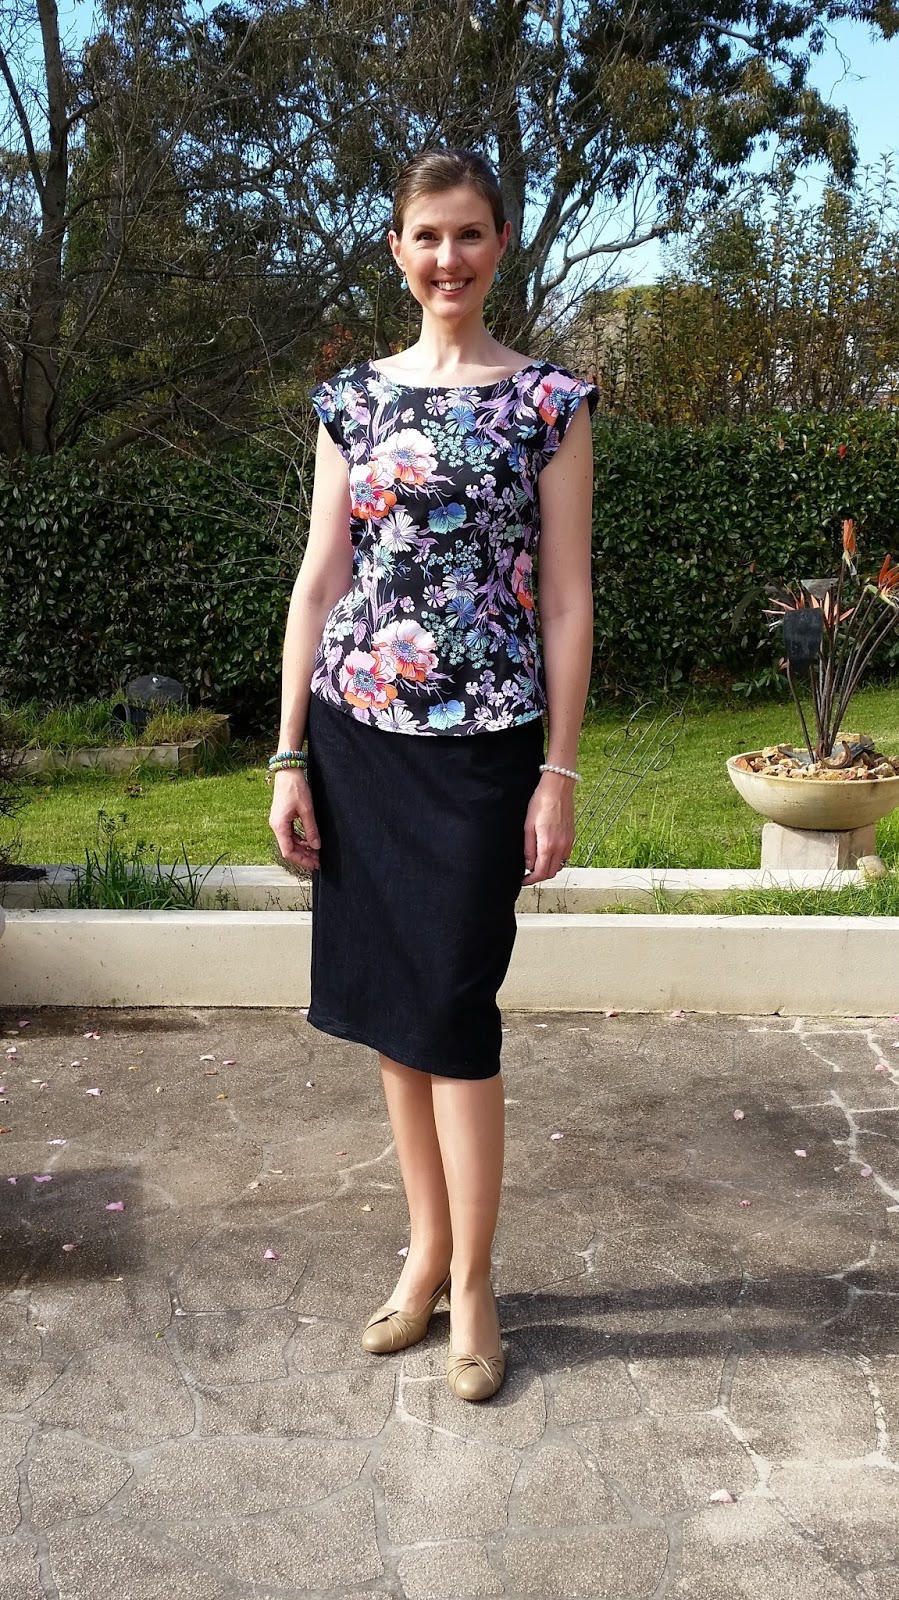
Here is the top with a denim pencil skirt (also made by me):

The top is New Look Pattern 6194 with the neckband omitted
& length added (but that's just a given for me, right?!).


Photos c/o of my wonderful Husband


Monday, 29 June 2015

I Made It Monday - Simple Skirt Tutorial - Perfect for Beginners!

Top: New Look Pattern 6194, neckband omitted & made longer /
Fabric: Gifted, purchased in 1970's.  100% genuine 70's Polyester!

I often make a skirt & top in the same fabric so I have the versatility of wearing it as a dress or separates.

Photos c/o my wonderful Husband


This skirt is really easy to make and perfect for beginners as it is hard to mess up!  It is basically a rectangle with elastic in one end.  I suggest you use a soft fabric so it has nice drape.  Here I've used a fabulous 1970's polyester which was given to me.  I love it! 

Here is how to make it:

1. Measure your waist, and multiply that number by 1.5. This will be your skirt width measurement. Measure from your waist to your knee; this is your length measurement.
Cut two rectangles of fabric using these measurements. Then cut two waistband rectangles using the same width measurement, and making it 10cm in height.
 
2. Sew the sides of the skirt up with right sides together, then sew the sides of the waistband up with right sides together.  Finish seams on skirt (you don't have to finish waistband seams). 

3. Fold the waistband in half (5 cm tall) and has a folded edge on one side and two raw edges on the other side. 

4. Pin the waistband around the top of the skirt. Make sure the raw edges of skirt & waistband are together. Sew around the entire waistband with a straight stitch and a 1.5cm seam allowance, but leave 5cm open so you have a spot to slide your elastic inside.
 
5. Measure your waist where you want your skirt to sit and cut a piece of elastic to this size. Attach a pin to one end and use it to feed the elastic through the waistband casing you just created. To ensure the other end of the elastic doesn't slide into your casing -- secure it with a safety pin at the opening. Once the elastic is completely fed through, sew the ends of the elastic together really well. 

6. Sew the opening in the waistband closed.  Finish your seams with an overlocker (serger) or zig zag stitch. 
 
7.  Hem your skirt to your desired length.  You can hand sew or machine sew the hem.

8. Press your seams, hem and skirt well, it helps the stitches set and gives a professional finish.  Do not skip this step! 


Ta da!  You have made a skirt!  Put in on and feel fabulous and proud every time you get a compliment on it!