Home

Showing posts with label Skirt. Show all posts

Monday, 16 November 2015

I Made It Monday: Chambray Love

I love the versatility of separates, however I also love a dress (it's no brainer dressing!).  So to get the best of both worlds I made a top and skirt using the same soft black chambray. 

I made the top using Simplicity pattern 1364, a reproduction vintage pattern.  I made just a couple of slight modifications: added length (standard for me!), lowered the front neckline by 1cm and added some bias tape to the sleeves.  The bias tape is a pretty liberty print lovingly made by a dear friend 40+ years ago.  I had to use it!

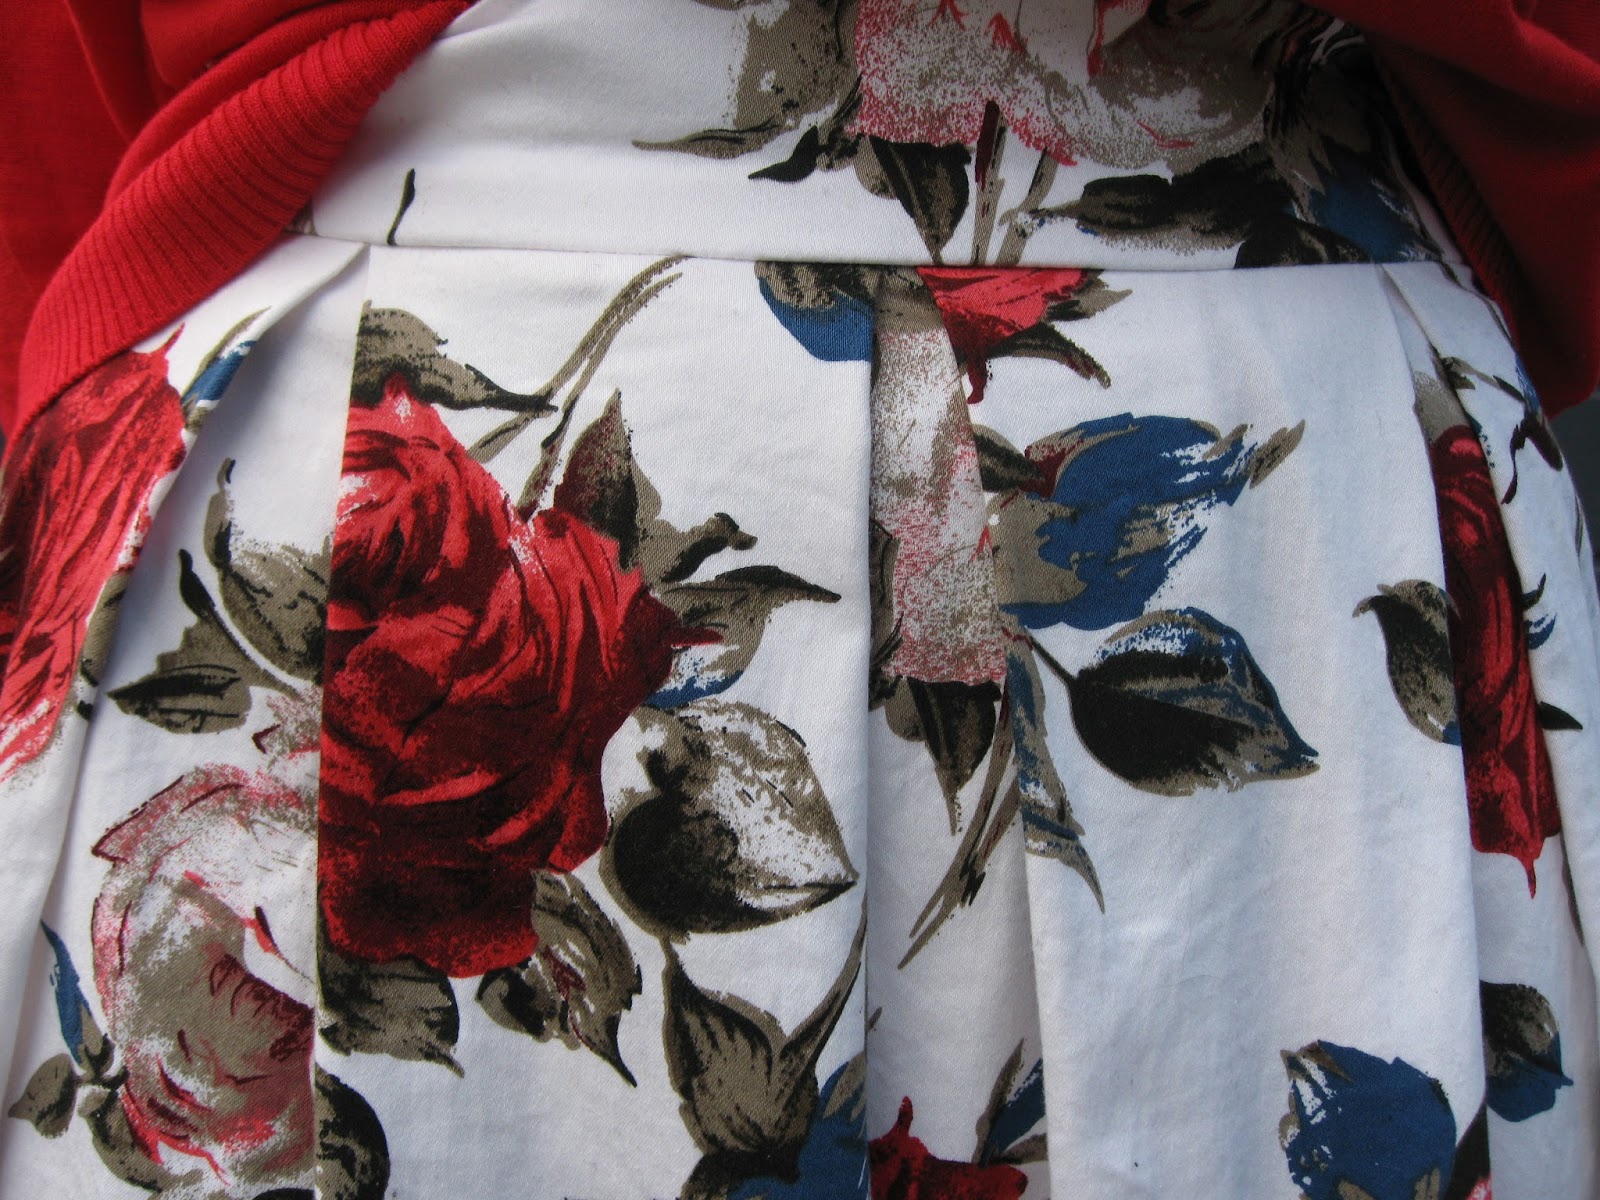
The skirt is a self drafted half circle skirt.  Apparently I did not learn from my mistakes made with this circle skirt as I had to take this one in twice.  I'm starting to think I should just stick to my pleated midi skirts, circle skirts and I don't get along!  If only they weren't so pretty!


Photos c/o my wonderful Husband
Who can't help but take photos whilst I'm walking & talking.


Thursday, 15 October 2015

Dress as Skirt

Do you sometimes see something so simple that you wonder why you didn't think of it?! 

I've seen lots of bloggers lately wearing dresses as skirts or tops.  Why didn't I think of that?!

This red pleated dress is another from my Mum's 1970's collection.  However, for my everyday wardrobe this red dress was a "bit much".  So I added a chambray shirt and now I feel like I can wear it out in the daytime without people wondering "where is she going?".

Of course I am wearing satin bow heels, but why not?! 


Photos c/o my wonderful Husband

Monday, 5 October 2015

I Made It Monday: DIY Circle Skirt

Welcome back to "I Made It Monday"!

Last week I made a couple of circle skirts for my little girls.  They loved them because nothing is more twirly than a circle skirt!  Which got me thinking: I don't have a circle skirt.  As you all know, I have a lot of pleated midi skirts and am now the proud owner of 2 maxi skirts, but no circle skirts.

That very same day that I had the "no circle skirt" revelation I was hunting for vintage dress patterns at my local Salvation Army and saw a pretty blue and green chambray meets gingham round table cloth.  A round table cloth could be turned into a circle skirt, right?!  The worst part, hemming, was already done!  For $3.00 I was going to give it a try! 

Now the internet does not need another circle skirt tutorial so I'm not going to give one.  Plus, I made so many mistakes with what should have been a very simple and straight forward project that I don't feel like I'm in a position to write a tutorial.

First I was going to put in an exposed elastic waistband, and cut the centre circle accordingly (to fit over my hips).  Then I decided that a waistband with a zipper would look more polished.  I had cut such a huge circle (clearly my mathematics was off) that I was able to cut a waistband out of the off cut.  I sewed that to my skirt and sewed in a zip... however I had failed to try the skirt on (BIG mistake) and when I put it on it fell right off.  Sigh... it was a bit big! 

At this point I was ready to re-donate it to the Salvation Army, but I refuse to be beaten.  So I unpicked the zip, which just made me begrudge the skirt more, and sewed up the hole and threaded elastic through the waistband.

If you've stuck with me through this ranting comedy of errors I commend you!  Basically what was going to be an elastic waisted skirt took some time consuming and frustrating detours just to end up being an elastic waisted skirt.  If it wasn't so pretty I wouldn't have stuck with it!


Top: Refashioned by Me (coming to blog next week) / Skirt: Me / Sandals: Big W

And you can't help but twirl like a little girl in a circle skirt!


Photos c/o my wonderful Husband

Friday, 4 September 2015

Midi Skirt Love!

I love this midi skirt! 

If midi skirts were like children then you shouldn't have a favourite.  But they are not, and I do! 

If you follow me on IG you would have seen this skirt before.

I've paired it here with a loose fitting top, I like the casual and comfy look.  I made this skirt (see how here) with gorgeous cotton sateen from The Remnant Warehouse.  It is so soft!


Close up of the pleats and beautiful fabric.

Photos c/o my wonderful Husband.
My 3 year old was too busy riding her bike!

Monday, 31 August 2015

I Made It Monday: Green & White Midi Skirt

In honour of Spring starting tomorrow I wanted to make a new midi skirt. (any excuse, right?!) 

When I saw this gorgeous green and white stripe online from The Remnant Warehouse I knew it was just what I had been looking for.  I've wanted a striped midi for a while and I simply can't resist green.

As you have come to realise, I have a thing for midi skirts (see here, here and here).  I just love them, they are flattering, girly and easy to make (see here).

It won't really warm up here for a few weeks so I've teamed it here with a cable knit jumper (sweater for those who don't speak Australian) from Tommy Hilfiger that I've owned for many years.

I see myself wearing this skirt with a simple white tee and sandals for summer and am looking forward to it!


Photos c/o my talented 3 year old daughter!


Forgive the selfie, my photographer quit on me!
At least you can see the outfit details!


Monday, 24 August 2015

I Made It Monday: 1963 Shirt Dress

If you follow me on IG you would have seen this dress in the making!

I used a 1963 vintage dress pattern which had belonged to my Great Grandma Mabel, with some modifications.  I altered the sleeves slightly, added side seam pockets and modified the collar a little too. 

If you haven't worked with a vintage pattern before, let me tell you they are tricky!  They are unmarked and have a cryptic series of holes punched in them to denote different things.  Made slightly harder was the fact that this pattern had some pieces missing and my Great Grandma's bust measurement was about 33 cm (approx13 inches) larger than mine (I missed out on those genes!).

I wanted to make this dress because I love shirt dresses and my Great Grandma would have worn ones just like this.  I used vintage glass buttons handed down from Nona (my Husbands Grandma) and the belt loop comes from her too.  However, and I hate to say it, I don't love it on me.  I love the dress and the gorgeous Japanese cotton from The Remnant Warehouse, but on me I feel it's... meh.

I hope it grows on me, because I want to love it!  I just think the loose fitting shirt does strange things for my shape.  Is it just me??  Maybe.  I'm sure once it warms up (the east coast of Australia is forecast to have the hottest, or one of the hottest, summers on record) a loose fitting dress will be appreciated!
 
 
Having a bad face day!
 
I added pockets, I just love pockets!

Monday, 27 July 2015

I Made It Monday - Dress to Skirt Refashion

This is a really easy refashion!  Perfect if you're learning to sew because it's just that easy!

I took a too short halter neck dress that was given to me and turned it into skirt. 

I could have worn the dress as a tunic top, but I don't wear halter tops.  I did love the fabric with it's gorgeous olive green colour and cool print.*

I simply used wide elastic as the waist band - I liked the contract of the black with the fabric.

Here is how I did it:

1. Determine how long you want your skirt to be; measure that length from the bottom up.  This way you can use the original hem - easy!

2. Cut.  I cut the dress to give myself a below knee length skirt and to make the most of the fabric print.  Finish the raw edge.


3. Take 5cm wide elastic which is the same as your waist measurement (don't make it too tight as that can give even the skinniest girl muffin top!).  Sew the edges together to form a circle.


4. Matching right sides of skirt and elastic together pin at 12 o'clock, 3 o'clock, 6 o'clock and 9 o'clock.  The elastic will be smaller than the skirt.

5.  Using a zig zag stitch sew the elastic to skirt, stretching as you go so the elastic lays flat on the skirt.


Ta da!  You're done!  You have a fabulous new skirt and you only had to sew one seam!


*Caution: cutting up dresses to make skirts can be addictive... I've already converted 3 rarely worn dresses into skirts that are destined to be favourites! 

Monday, 13 July 2015

I Made It Monday - Pencil Skirt with Leopard Accent

On todays "I Made It Monday" I'm wearing a basic black pencil skirt that I made with a little leopard flare.

Top: Long Tall Sally / Skirt: Made By Me / Shoes: Diana Ferrari

I love leopard print but in my wardrobe I only have it in shoes, scarves, belts & bags.  I love leopard on other people in the form of skirts, dresses and jackets but just don't think it works for me.

So I've found a way to add a little more leopard print to my wardrobe.  For me this is a happy medium; it's still my basic black staple but it's a bit more fun and interesting with the addition of the leopard print.  Maybe this is me taking baby steps towards an actual piece of leopard print clothing!

This is an easy technique you can use to add some colour or pattern accents into your wardrobe if you're like me & too chicken conservative not ready to go all in!

Here's how to do it:

 
1. Take a pencil skirt pattern or existing pencil skirt like I did & trace to get front and back pieces.  (Take into consideration the amount of stretch your fabric has).  Add allowances for seams, waistband casing and hem.

2.  Deciding how wide you want your accent strip to be (e.g. 10cm) deduct 5 cm from each side on both front & back pieces.

3.  With right sides together sew the accent strip to front & back pieces.

4. Make a casing for your waistband elastic.  Thread elastic & close casing.

5. Hem your skirt to desired length.

Ta da!  You have a fabulous new skirt!


Photos c/o my wonderful Husband
Who loves an action shot!


Wednesday, 1 July 2015

Letting Down A Hem Tutorial

Do you have a skirt (or pants) that you feel is just a little too short?

Here is a simple way to let down the hem for extra length.  As a tall girl I need to do this a lot! 

I've used a skirt here for my example.  You will notice that I've used a bright blue fabric, of course the sensible thing to do would be to use a coordinating fabric but I like the secret pop of colour inside my skirt!


1. Unpick the hem to see how much extra fabric you have to work with.  Press the hem flat using the highest iron setting the fabric will tolerate.  I place a slightly damp cloth over the hem when pressing.

2.  Take a scrap of fabric the same width as your skirt (or pant leg) and at least 5 cm high to give a nice finish.

3. With right sides together machine sew the fabric to the bottom edge of your skirt.

4. Fold under 0.5cm and sew along the raw edge of your added fabric. 


5.  Press the seam up towards the bottom of the skirt so your added fabric sits on the inside and not at the very edge of the skirt.

6.  Invisible hem (I prefer to do this by hand) and you're done. 


Ta da!  A little extra length that goes a long way!